Key Takeaways
- A successful nature documentary shoot requires a shooting ratio of at least 400:1 to ensure enough coverage for a cohesive narrative.
- Using a probe lens allows for intimate, eye-level shots of insects that traditional macro lenses cannot achieve.
- Natural sound (NATS) is as critical as the visuals; always record dedicated room tone and ambient tracks to fill gaps in your edit.
- Acclimatizing your camera gear to temperature changes is essential to prevent internal condensation and sensor failure in extreme climates.
- Professional wildlife films are built on 'behavioral observation,' meaning the crew must spend days in a hide before capturing a single usable shot.
You are sitting in a blind, four hours into a rainy Tuesday, watching a puddle. Your lens is fogging up. You have spent three thousand dollars on a travel permit and four days waiting for a bird that hasn't shown its face. This is the reality of wildlife filmmaking. It isn't a David Attenborough voiceover; it is boredom, wet socks, and technical failure. If you want to capture high-end nature footage on an independent budget, stop thinking like a director and start thinking like a siege engineer.
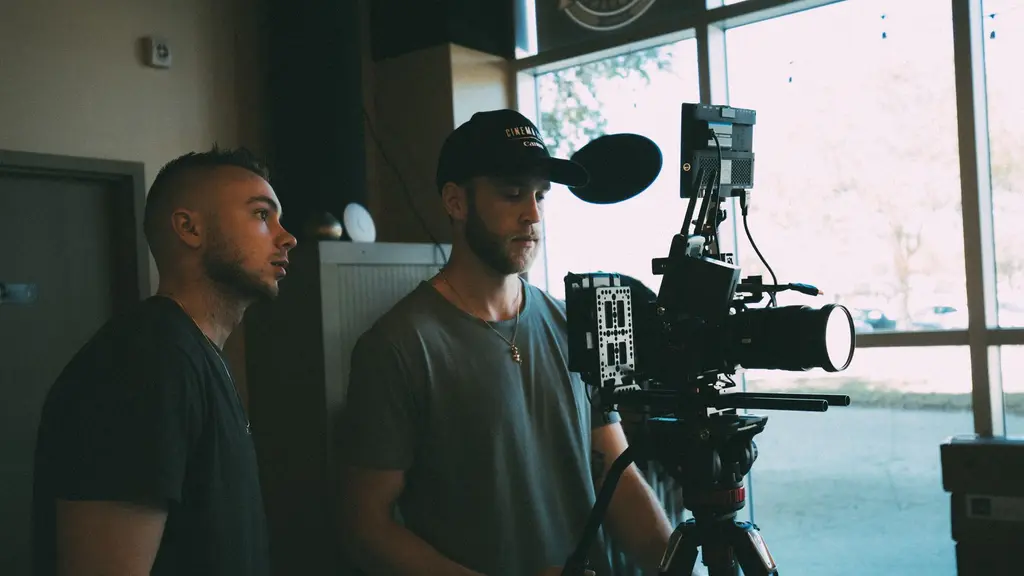
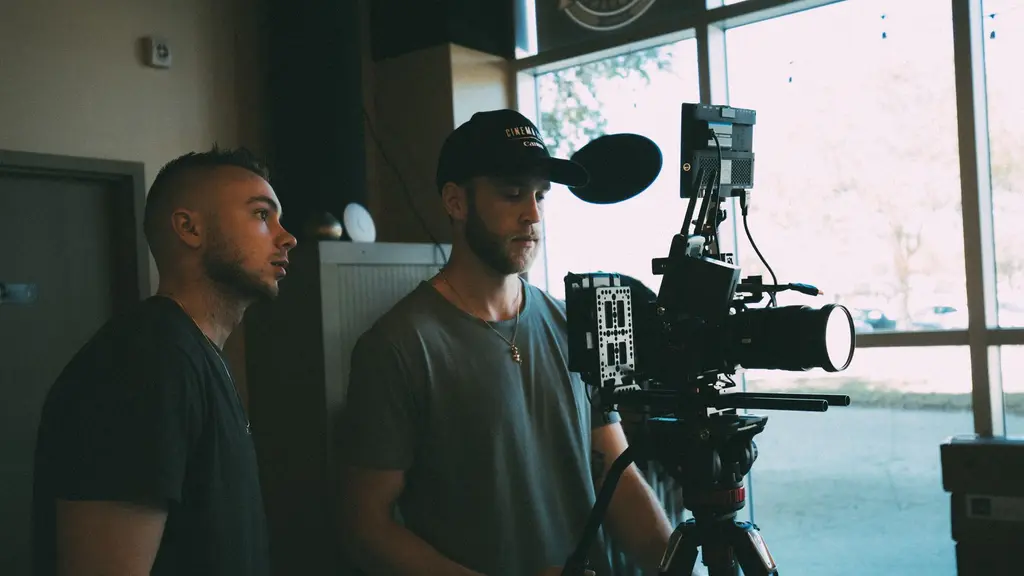
The industry standard for high-end series involves a shooting ratio exceeding 400:1. That means for every minute you see on screen, the crew burned through seven hours of raw digital footage. If you are shooting with a small team—typically a producer-director, one lead cinematographer, a sound recordist, and a local fixer—you cannot afford to waste media. You have to be precise. The 'best of' lists tell you which cameras to buy, but they rarely tell you that the most important piece of gear in your kit is a desiccant pack. If you don't account for temperature shifts when moving gear from a humid jungle into a climate-controlled vehicle, your sensor will turn into a petri dish of mold.
The Reality of Wildlife Cinematography: Patience vs. Tech#
You have to learn the difference between shooting and observing. Most beginners set up their rig and start recording the moment they spot movement. This is a mistake. You need to spend the first two days of any shoot doing nothing but watching the animal's rhythm. Does it approach the water source from the north? Does it flee at the sound of a shutter click? If you rush the camera work, you end up with frantic, unusable footage that lacks a narrative arc. The legendary "racer snakes vs. Iguana" sequence in Planet Earth II feels like an action movie because it was edited that way, but that result only exists because the crew understood the animal's behavior enough to predict exactly where to place the stabilized remote head.
Patience is your primary tool. If you aren't prepared to sit in a hide for twelve hours without moving, you aren't shooting wildlife; you’re just taking expensive snapshots. The tech matters, but it’s secondary to your ability to remain invisible. High-end productions rely on stabilized remote heads like the GSS or Shotover, but you can achieve similar results on a micro-budget by using a professional fluid head and a heavy-duty tripod designed for wind resistance. Do not rely on digital post-production stabilization. It creates "warpy" digital artifacts that scream "budget production." Get the mechanical stability right in the field, or don't bother hitting record.
Essential Gear for the Independent Wildlife Filmmaker#
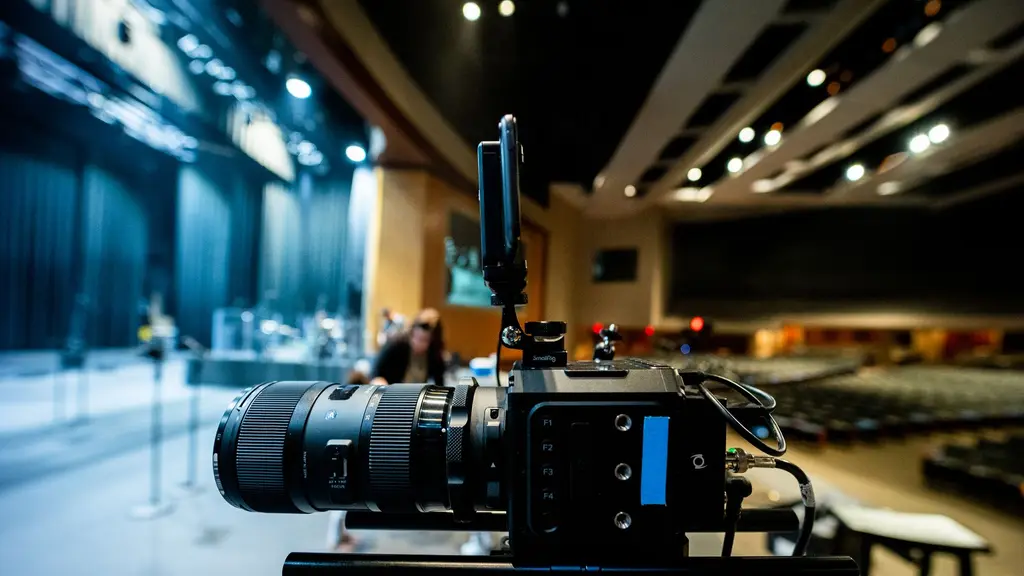
Forget the cinema camera body for a second. Your lens is the only thing that actually touches the photons. For wildlife, you need reach, and reach is expensive. If you are on a budget, look at the used market for prime telephoto lenses rather than zoom glass. A fixed 400mm or 600mm lens will give you sharper images and better low-light performance than a variable-aperture zoom. You also need a dedicated weather-sealing plan. If you are filming in a rainforest or an alpine environment, buy high-grade rain covers and industrial-strength desiccant canisters.
Hide/Blind
A camouflaged shelter used by the crew to remain invisible to animals during long-duration shoots.
Your camera body needs to be high-ISO capable. Modern sensors, like the Sony A7S III or the RED V-RAPTOR, have effectively killed the need for infrared, which often renders night footage in muddy, unrealistic monochrome. Today’s sensors allow for "true" color night cinematography, which makes your footage look like a feature film rather than a grainy surveillance tape. Invest in a power solution that can run your rig for ten hours without a battery swap. If you have to break cover to change a battery, you have ruined your shot.
Mastering Macro: Getting the 'Microcosmos' Look#
When you want to film insects, you are no longer a wildlife cinematographer; you are a miniaturist. Microcosmos (1996) changed the game by building custom, vibration-dampened macro rigs that allowed the camera to travel through grass as if it were a forest. To replicate this today, you need a specialized probe lens like the Laowa 24mm. These lenses are thin, allowing you to get the front element within centimeters of an insect without casting a shadow or disturbing the subject with the body of your camera.
Depth of field is your enemy here. At such close distances, your depth of field is often measured in millimeters. You will need a massive amount of light. Don't rely on the sun. Carry portable LED panels with high CRI ratings and diffusion cloth. Use a small, handheld reflector to bounce light into the shadows of the insect’s environment. If you want the scale to look truly cinematic, keep the camera moving. Static macro shots are boring; the "Microcosmos" look is all about keeping the lens at eye-level with the insect, moving through the environment as if the camera is a member of the colony.
Low-Light Strategies: Capturing the Night Without Infrared#
The biggest mistake filmmakers make at night is trying to light the whole scene. You aren't filming a studio commercial. You are filming a nocturnal animal. If you flood the environment with bright lights, the animal will leave. The secret is to embrace the shadows. Use the natural ambient light from the moon or stars, and rely on the high-ISO sensitivity of your camera. If you have to add light, use a very dim, warm-toned LED with a heavy diffusion filter. It should barely be perceptible to the animal.
Focus is the hardest part in the dark. Don't rely on autofocus; it will hunt and breathe, creating distracting wobbles in your footage. Set your focus manually using a monitor with a strong peaking setting. If you’re tracking a fast-moving predator, you need to pre-focus on a spot where you expect the animal to cross. If it crosses elsewhere, let it go. Trying to follow-focus a moving animal in near-total darkness is a guaranteed recipe for a soft, unusable take.
The Importance of the Fixer: Logistics in Remote Locations#
You are a guest in the landscape, not an invader. This is why you need a fixer. A fixer is a local professional who handles your permits, guides you to the wildlife, and—most importantly—keeps you from getting arrested. If you think you can show up in a foreign country, hike into a protected area with a camera, and start filming, you will find yourself dealing with customs agents who have no interest in your creative vision.
The Field Protocol
- 1
Scout the location
Work with a local fixer to identify animal habits without disturbing their territory.
- 2
Secure permits
Get written, legal permission for your equipment usage before you land.
- 3
Check the gear
Verify sealing and desiccants to prevent internal condensation before entering a new zone.
- 4
Establish the blind
Set up your position and wait for the wildlife to accept your presence before turning on the camera.
Fixers also save you from "behavioral ignorance." They know the local species better than any documentary you’ve watched. They know if a predator is hunting or just resting. They will keep you safe from the local wildlife and, perhaps more importantly, keep the local wildlife safe from you. Ignoring ethical wildlife interaction guidelines is not just unprofessional; it’s an environmental crime that can shut down your production and get you blacklisted from future permits.
Sound Design: Why NATS is 50% of the Experience#
If you watch a nature documentary on mute, you will see a bunch of animals moving around. If you turn the volume up, you are suddenly standing in the middle of a forest. That is the power of NATS (Natural Sound). You must record ambient tracks separately. Your shotgun mic on the camera is for capturing the direct sounds—the crunch of leaves, the call of a bird—but it is rarely enough for a final mix.
You need to record at least ten minutes of "room tone" at every single location. If you lose your audio to wind noise, you are going to spend weeks in post-production layering hundreds of tracks of rustling grass, distant wind, and animal calls to make the scene feel immersive. A high-end nature sequence is an audio-first experience. If your soundscape is thin or artificial, the audience will subconsciously know that the footage is fake, even if the visuals are sharp.
Ethical Filming: Protecting Your Subject and Your Permit#
Ethical filming is not a restriction; it’s a standard of quality. When you push an animal too hard to get a "reaction shot," you are changing the animal's behavior. If you force a bird off its nest, you risk the survival of the chicks. If you film a sequence that clearly shows an animal being harassed, you are going to face massive backlash from the conservation community, which will ruin your reputation and your prospects for future funding.
Always maintain a respectful distance. Use your telephoto lens to do the heavy lifting. If you are worried about the lack of proximity, you haven't put in enough hours in the blind. Protecting your subject ensures that the habitat remains viable for your next shoot. If you are filming in a high-risk area, carry your permits on you at all times. If a park ranger shows up, you want to be the filmmaker with the paperwork, not the one being escorted to the police station.
The natural world is the great, exciting, beautiful movie that is playing for all of us.
— David Attenborough
Post-Production: Managing Massive Shooting Ratios#
You are walking into an editing room with hundreds of hours of footage. If you don't have a system, you are going to drown. Start by logging your footage by "behavior," not by "time" or "location." Create a massive master shot list that organizes clips by the animal's actions. You need to be able to find that one clip of a predator looking to the left, or that one clip of rain hitting a leaf.
Managing this volume of data requires a robust filing system. Do not rely on your memory. Tag everything. Use Scriptory to keep your schedule and shot lists organized so you aren't wasting hours scrolling through empty takes in your NLE. You need to know exactly what you have captured before you even start the first assembly.
| Shot | Size | Angle | Description |
|---|---|---|---|
| 1A | WS | High | Wide shot, establishing environment |
| 1B | MCU | Eye | Extreme close-up, predator eyes |
| 1C | CU | Low | Medium shot, predator stalking through grass |
In Scriptory: Shot Lists
Shot size, angle, movement and lens per scene, with a starter list the AI can propose one scene at a time.
Where: Editor — Storyboard tab
These organizational tools are essential for maintaining your sanity when you are staring down a timeline of four hundred hours of raw footage. Without a clear metadata structure, you will find yourself lost in a sea of files, unable to connect the narrative dots between different shooting days or locations.
By consistently applying these tagging and logging workflows, you ensure that you don't miss the perfect reaction shot simply because it was buried under a file titled "B-roll 04." Maintaining this level of discipline is exactly what separates high-end professional productions from amateur hobbyist projects.
Scriptory Resource
Organize your footage before you start editing
Stop losing track of your best takes. Use Scriptory to manage your shots, notes, and scenes in one place.
The final cut will come together when you stop trying to use every beautiful shot and start focusing on the story of the animal. If a shot doesn't contribute to the narrative, it goes in the trash. It doesn't matter how sharp the 4K image is. If it's dead weight, cut it. Your shooting ratio might be 400:1, but the audience only needs to see the one percent that tells the truth.
Now that you have your gear list and your ethical plan, stop reading. The best way to learn the rhythm of an animal is to go find one. Book your fixer, pack your desiccant, and get into the field. You won't get the shot on your first trip, but you'll learn how to get it on your second. Go get wet, get bored, and keep your eyes open. That is where the film is.
Frequently Asked Questions
Quick answers to what people ask about this topic.
What is the most important piece of gear for a nature documentary?
The most important gear is a high-quality, weather-sealed tripod head with a fluid drag system. Because wildlife cinematography relies on long-lens stability and slow, precise pans, a shaky or stiff head will ruin your footage regardless of your camera's resolution.
How do I get close to animals without scaring them?
You must use a hide or blind to camouflage yourself and your equipment. Animals are highly sensitive to human movement and scent, so staying stationary for hours—or even days—is the only way to capture natural behavior rather than a flight response.
Do I need a 4K camera for nature documentaries?
While 4K is the modern industry standard for distribution, it is not strictly necessary for learning. However, 4K allows for 'punch-in' cropping in post-production, which is vital when you cannot get physically closer to a subject without disturbing it.
How do I find a good local fixer for my shoot?
Contact local conservation groups, forest department offices, or universities in the region you plan to film. These organizations often know the best local guides who understand animal behavior and the legal requirements for filming in protected areas.
Format your script for free
Stop fighting Word margins. Scriptory formats your screenplay to industry standard as you type, then turns it into a breakdown, a schedule and a call sheet.
Open Scriptory Now