Key Takeaways
- Post-production typically consumes 20% to 30% of your total film budget.
- A picture lock should be finalized before beginning any color grading or sound mixing to avoid costly rework.
- The offline edit uses proxy files to ensure smooth playback and efficient editing performance.
- Proper audio mixing requires balancing dialogue, music, and sound effects to ensure clarity across different playback systems.
- The conform process involves replacing low-resolution proxies with original high-quality camera raw files for the final master.
You’ve just wrapped principal photography. The craft service table is a disaster zone, the memory cards are safe in your bag, and for the first time in weeks, your eyes aren't burning from a lack of sleep. You might be tempted to think the hard part is over. It isn't. You’ve successfully captured the raw material, but you haven't made a film yet.
Most independent filmmakers treat post-production as a passive phase—a time to sit in a dark room and "wait for the magic." That’s a dangerous fantasy. Post is where the film is actually written, paced, and colored. If you don't manage the final 30% of your budget and timeline with the same tactical aggression you used on set, your project will drift into a state of permanent "work-in-progress" hell.
You need to stop thinking about your edit as an artistic endeavor and start treating it as a logistics operation. If you aren't tracking your hours and assets, you’re hemorrhaging money. Every hour spent searching for a lost file, re-linking broken proxies, or re-adjusting a sound effect because the picture wasn't finished is an hour that could have been spent refining the narrative. You are the project manager of your own story; treat it with the discipline of a professional studio department head.
The Offline Edit: Assembling the Narrative#
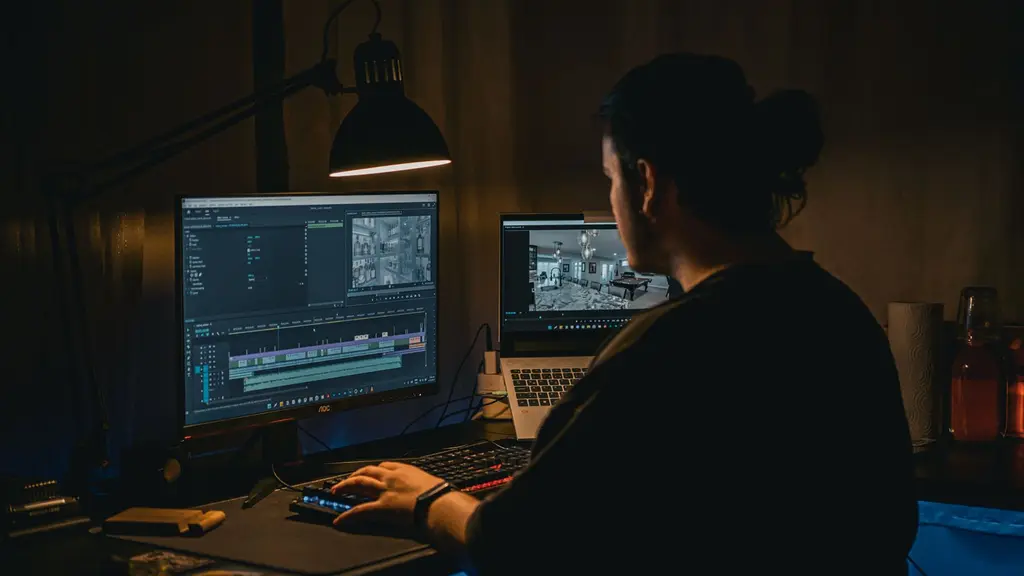
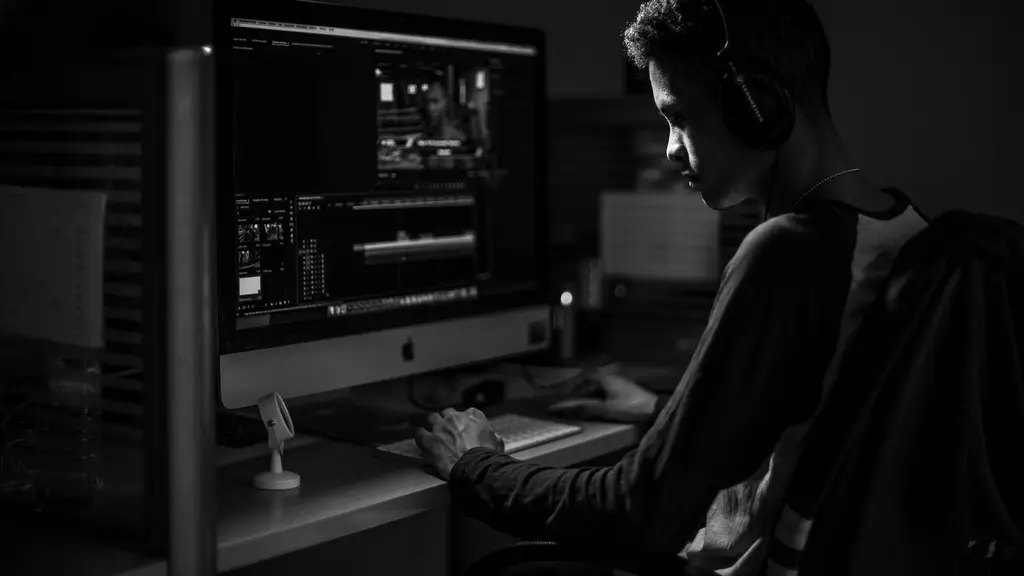
The offline edit is where you take your chaos and turn it into a story. You are working with low-resolution proxies—copies of your raw files that are small enough for your computer to handle without stuttering. Do not try to edit your 4K or 6K RAW files natively unless you have a dedicated machine and a massive RAID array. It’s a waste of time and an invitation to system crashes. When working with ProRes Proxy or H.264 low-bitrate files, ensure you are using software like DaVinci Resolve’s built-in proxy generator or EditReady. These tools ensure your timecodes match perfectly. Without matching timecodes, your later conform process will fail entirely, leading to manual re-linking sessions that can burn an entire weekend.
During this phase, you are building the structure. You are cutting for performance, not for perfection. Look at Parasite. The tonal shift from the heist-like comedy of the first half to the dark thriller of the second half didn't happen because of a magic camera move; it happened in the edit. Bong Joon Ho used the pacing of the cuts to force the audience to accept the change in genre. If your story doesn't work in the offline edit, no amount of expensive color grading or sound design will save it. Avoid the temptation to focus on visual effects or advanced transitions while building the narrative structure. If the emotional arc of a scene fails, changing the color or adding a digital wipe will not fix the underlying structural issue. Focus on the beats, the performance, and the rhythm of the dialogue.
| Shot | Size | Angle | Description |
|---|---|---|---|
| 1A | WS | High | Wide, master establishing the room |
| 1B | MCU | Eye | Close up, protagonist enters |
| 1C | CU | Low | Over the shoulder, the interaction |
In Scriptory: Shot Lists
Shot size, angle, movement and lens per scene, with a starter list the AI can propose one scene at a time.
Where: Editor — Storyboard tab
Achieving Picture Lock: Why It Matters#
Picture lock is the moment you stop changing the length of your shots. It is the holy grail of post-production. The biggest mistake you can make is "soft-locking." You think, "I’ll just tweak this one cut later," or "I'll tighten this dialogue bridge during the mix." Don't.
When you make a change after the picture is locked, you break everything downstream. Your sound mixer has to re-align their tracks, your colorist has to re-match the shots, and your VFX artist has to re-render the composite. If you are paying a professional, you are being billed for every single second of that re-work. Get the picture locked, write the timecode down, and refuse to touch it again. Consistency is cheaper than perfection. Think of it as a contract: once you sign off on the picture, you are moving into the "finish" stage, where the budget is dedicated to polish rather than structural reconstruction.
The cost of indecision
- 1
Unlocked edit
You can change anything for free.
- 2
Locked edit
Every change now costs professional labor fees.
- 3
Post-delivery
Every change now requires a re-export and re-upload.
Sound Design and Mixing: The Invisible Half of Film#
Sound is 50% of your movie, and most indie filmmakers treat it like an afterthought. You can forgive a bad shot, but an audience will walk out of a screening if the dialogue is muddy or the music is clipping.
Understand the difference: Sound design is the act of building the world—the subtle room tone, the specific click of a lock, the hum of a refrigerator. Sound mixing is the technical process of balancing those elements against the dialogue so that the audience hears what they need to hear. If you ignore your audio levels during the edit, you’re leaving a massive pile of work for your sound engineer. If your dialogue volume jumps all over the place because you didn't manage your levels, your final mix will be inconsistent and expensive to fix. Check out the Best Horror Movie Soundtracks — Top 10 Scary Good Scores to see how professionals use sound to manipulate the viewer. When you mix, pay attention to the "loudness standards." Most streaming platforms require a target of -14 LUFS (Loudness Units Full Scale). If you ignore these specs, your dialogue will sound whisper-quiet compared to the music, forcing you to go back to the mix session at the eleventh hour.
Color Correction vs. Color Grading#
People often confuse these two, but they are worlds apart. Color correction is technical. It’s about balance. You are neutralizing the whites, ensuring skin tones look human, and matching the light from Shot A to Shot B so the scene doesn't look like it was shot in three different rooms. Use tools like the Scopes (Waveform, Vectorscope, and Histogram) rather than trusting your eyes alone. A monitor can be calibrated poorly, but the math in the scopes never lies. If your skin tones fall outside of the expected range on the vectorscope, you need to pull them back; otherwise, your actors will look sickly or overly saturated.
Color grading is creative. This is where you apply the "look." You are shifting the shadows to blue or pumping the warmth into the highlights to create a specific emotional tone. Never, ever start grading before the picture lock. If you spend four hours styling a scene only to cut it out because the pacing was too slow, you’ve just thrown away half a day of billable time. Get the edit right first. Then, and only then, worry about the aesthetic. Need a head start? Look at the 7 Best Free LUTs You Need to Make More Cinematic Videos to understand how to build a base grade. A common pitfall is over-grading; remember that a subtle grade often holds up better under festival projection conditions than an extreme, stylized look that might break up due to compression artifacts.
The Conform Process: Moving to High-Resolution#
The conform is the bridge between your offline edit and your high-resolution master. This is where you swap those low-resolution proxies back out for the original, high-quality RAW files. If you didn't organize your project files—meaning you have messy, duplicated folders and randomly named clips—the conform process will be a nightmare.
The computer needs to know exactly where the source file lives to execute the transition. If your file management is disorganized, the software will throw a "media offline" error, and your editor will spend eight hours manually relinking files that should have taken ten minutes to auto-conform. Take the time to tag your assets while you are editing. If you need help staying organized, check out the 37 Best Sites for Filmmakers You Need to Know in 2026. Beyond just software, maintain a consistent folder hierarchy on your RAID: 01_ProjectFiles, 02_Media_Raw, 03_Proxies, 04_Audio, 05_Graphics, and 06_Exports. By keeping these containers rigid, you ensure that the NLE (Non-Linear Editor) can find your source assets automatically when you "relink" for the online edit.
| 1000 | Offline Editor | ₹5,000 |
| 2000 | Sound Mix/Design | ₹8,000 |
| 3000 | Color Grading | ₹6,000 |
| Contingency 10% + fringe 5% | included | |
| Total | ₹19,000 |
In Scriptory: BudgetPro
A standard above/below-the-line chart of accounts seeded from your scene, cast and day counts, with contingency and fringe.
Where: Editor — Budget tab
Final Deliverables: Preparing for Distribution#
You’ve finished the edit, the mix, and the grade. Now you need to export. This is where people rush and fail. You need a deliverable list. Are you delivering for the web, for a festival, or for a broadcast network?
A standard feature film runs at 24fps. If you export at 23.976 because you didn't check the settings, some systems will reject your file entirely. If you deliver in the wrong color space—say, Rec.709 for a DCI-P3 cinema projection—your film will look flat and washed out on the big screen. Always check your container format (QuickTime .MOV vs. MP4) and your codec requirements (ProRes 422 HQ vs. H.264). Most distributors will demand a ProRes file as the "mezzanine master," even if they ask for a compressed file for the web later.
Scriptory Resource
Tag your script instead of retyping it
Scriptory pulls props, cast and locations straight off the page.
Don't underestimate the time it takes to render these files. A high-resolution master of a 90-minute film can take hours to export. Factor that into your delivery deadline. If your deadline is Friday at 5 PM, don't start your export at 4:30 PM. Give yourself the buffer. Verify the export by watching the entire file back at full speed on a display separate from your editing suite. It is common for rendering errors to manifest as "glitched" frames or dropped audio sync that you won't catch until the distributor flags them, causing you to miss your premiere date.
Render time is not free time
Stop looking at the final 30% of your film as a "polishing" phase. It is a factory. It has inputs, it has processes, and it has a technical spec. Keep your files organized, lock your picture before you spend money on sound or color, and always, always double-check your export settings before you hand that drive over to a distributor. You’ve done the hard work of getting the footage; don't fumble the hand-off now. Start by auditing your current project's file structure today—if you can't find a shot in under ten seconds, you aren't ready to lock. Establishing a rigorous workflow in these final stages is the difference between a project that stays on a hard drive and a project that makes it to a screen.
Frequently Asked Questions
Quick answers to what people ask about this topic.
What is a picture lock in film editing?
A picture lock is the stage in post-production where the duration and sequence of every shot in the film are finalized. Once a film is picture locked, no more changes are made to the edit, allowing the sound team and colorist to begin their work without the risk of their progress being invalidated by subsequent cuts.
How long should I budget for post-production?
For an independent feature film, you should budget at least three to six months for post-production. This includes time for the initial assembly, multiple rounds of feedback, sound design, color grading, and final technical exports. Complex visual effects or extensive sound mixing can extend this timeline significantly.
What is the difference between color correction and color grading?
Color correction is the technical process of fixing color imbalances and ensuring shots look consistent across a scene. Color grading is the creative process of applying a specific aesthetic or 'look' to the film to enhance the mood and narrative, typically performed after the correction is complete.
Why do editors use proxy files?
Editors use proxy files—low-resolution versions of the original high-resolution footage—to ensure the editing software runs smoothly. High-resolution 4K or 6K files are often too heavy for standard computers to play back in real-time, so proxies allow for fluid scrubbing, cutting, and effects work without system lag.
Filed Under
Format your script for free
Stop fighting Word margins. Scriptory formats your screenplay to industry standard as you type, then turns it into a breakdown, a schedule and a call sheet.
Open Scriptory Now